

 |
|
|
|
|
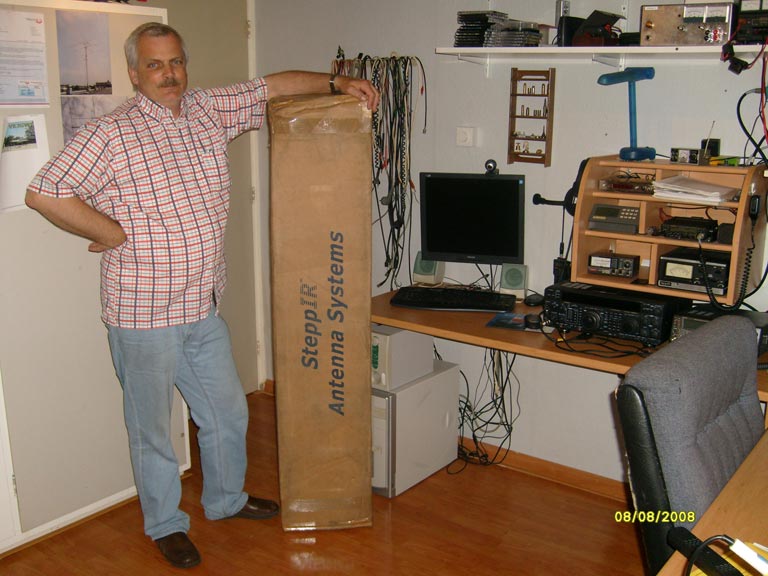
july 29, it is me, verry happy with my new SteppIR antenna |
|
|
 |
||
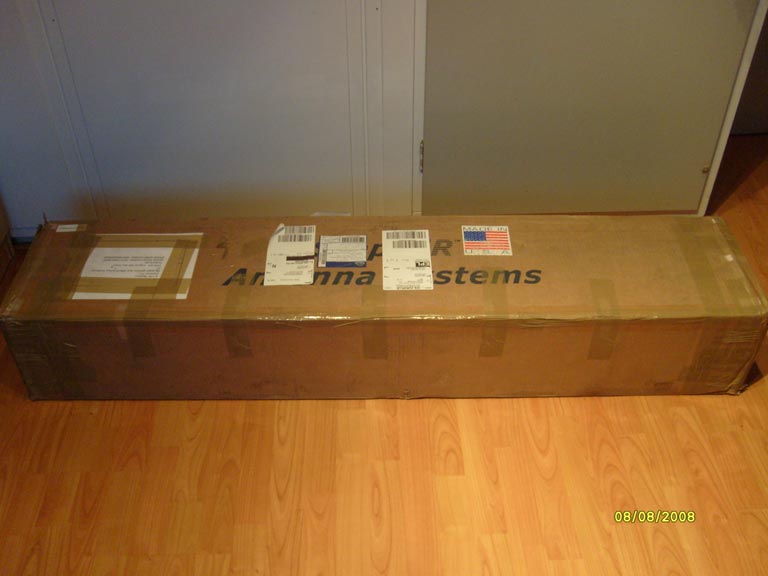
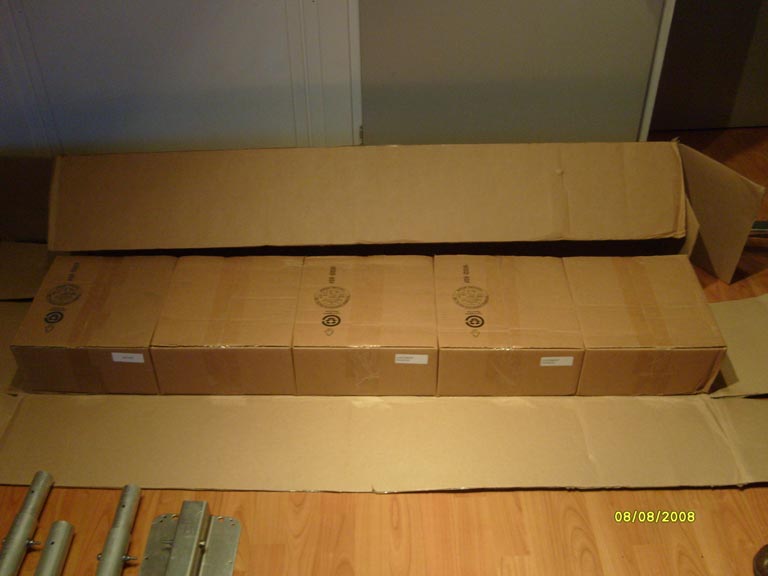
| Haaa..nice..packing out, like Christmas Eve for adult people. | 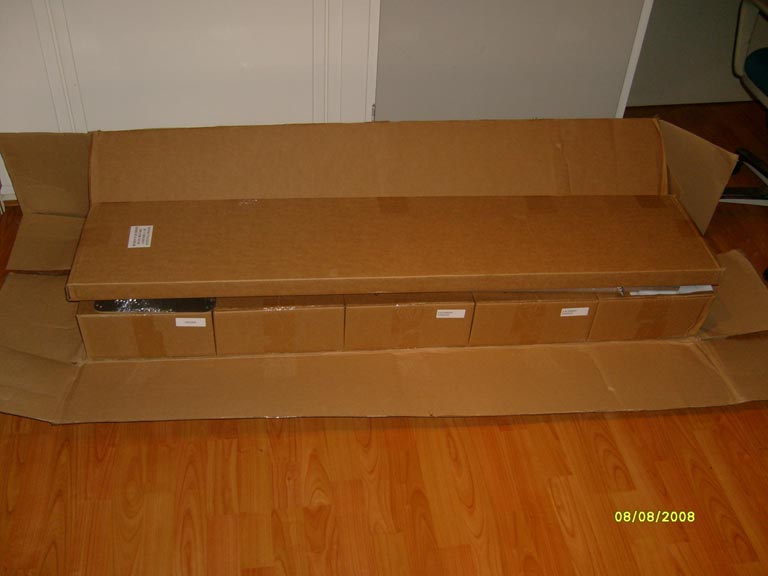 |
|
 |
||
 |
||
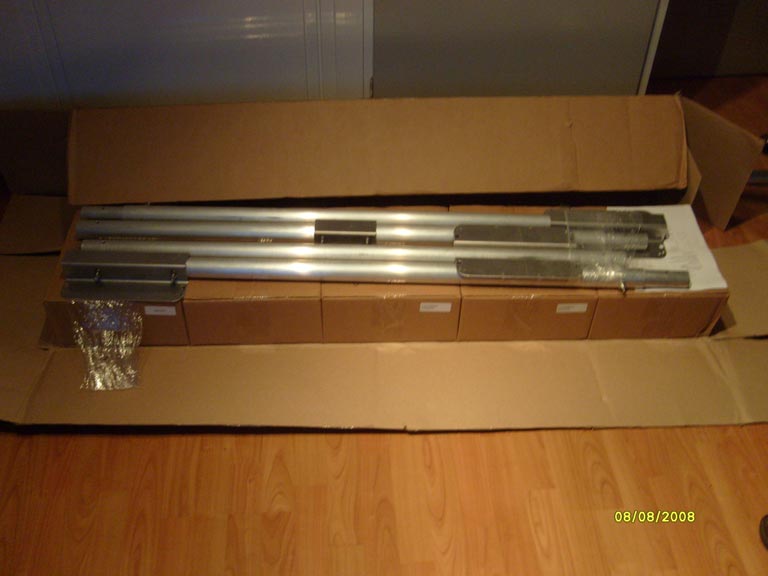
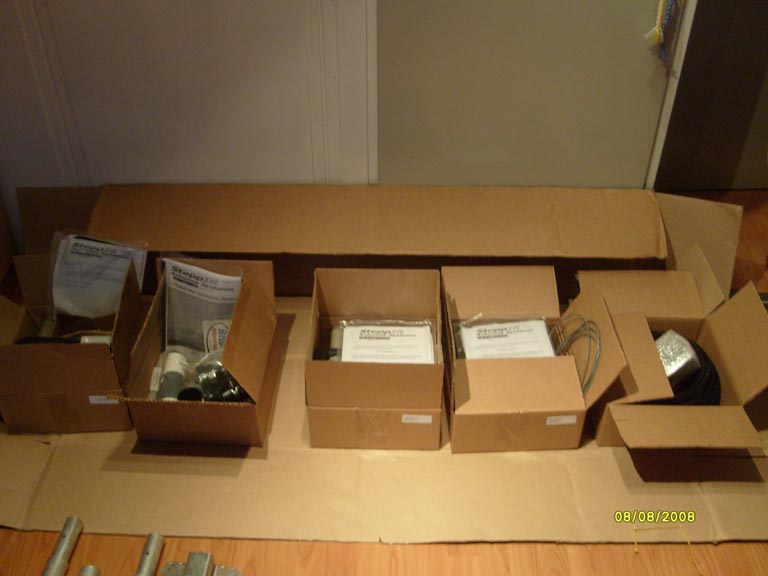
Perfect separately packed. Well done! |
 |
|
|
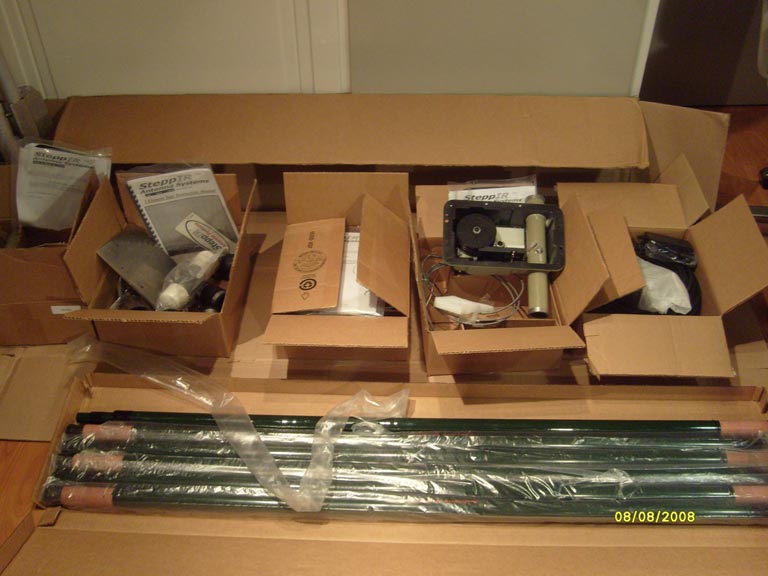
On the front you can see the "fishing poles". Those poles must be the elements, 11meters long each. |
 |
|
 |
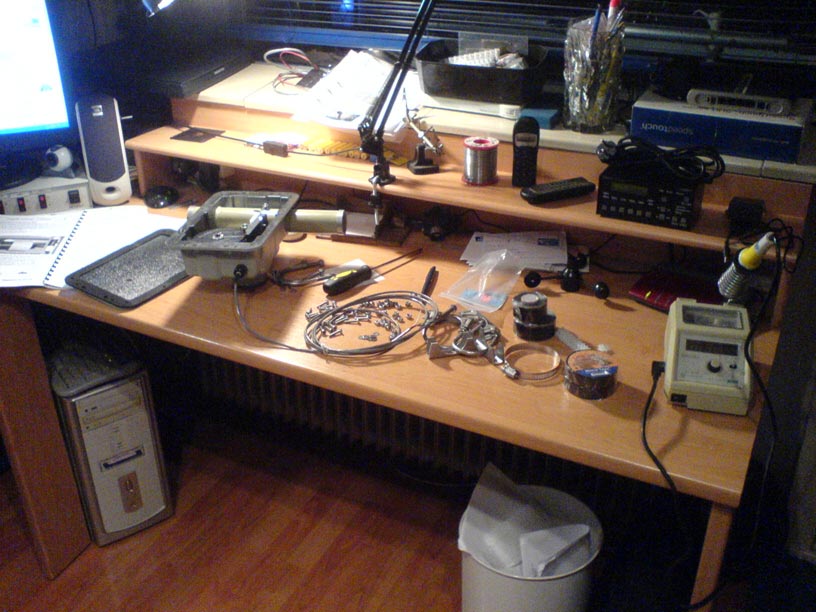
| August
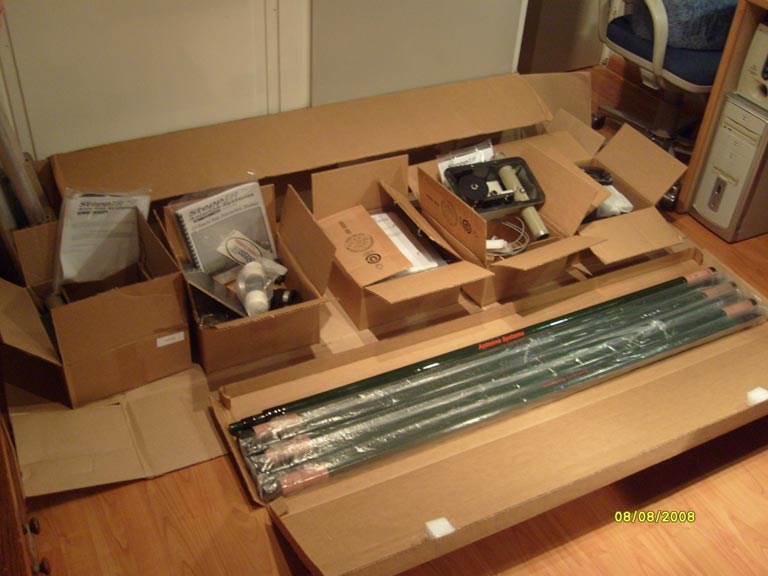
10, all the antenna stuff at the workbench. For fitting each part, before
we can place the stepper motor on the boom. What we see on the picture is
just one of the 3 stepper motors. Onto these motors we must place the poles
so it becomes the complete elements. The casing is open because the shipping. In this way the factory can secure and safely shipping the stepper motor and the copper- beryllium tape. |
 |
|
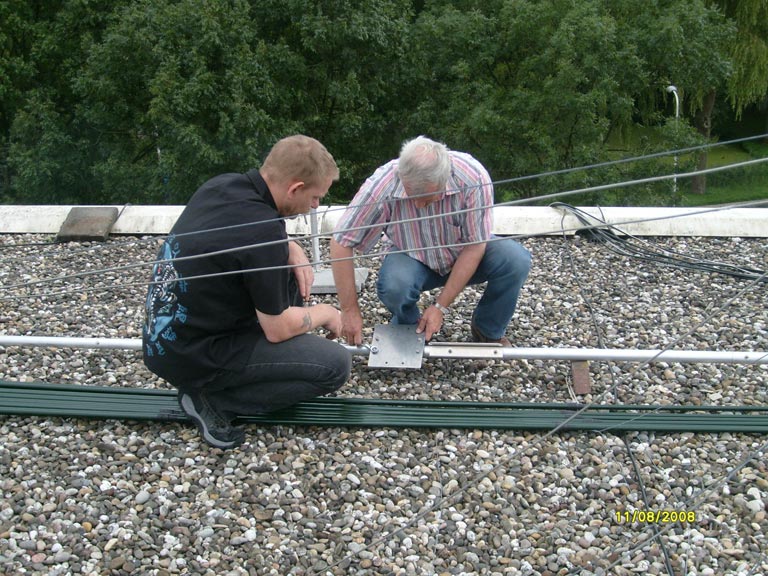
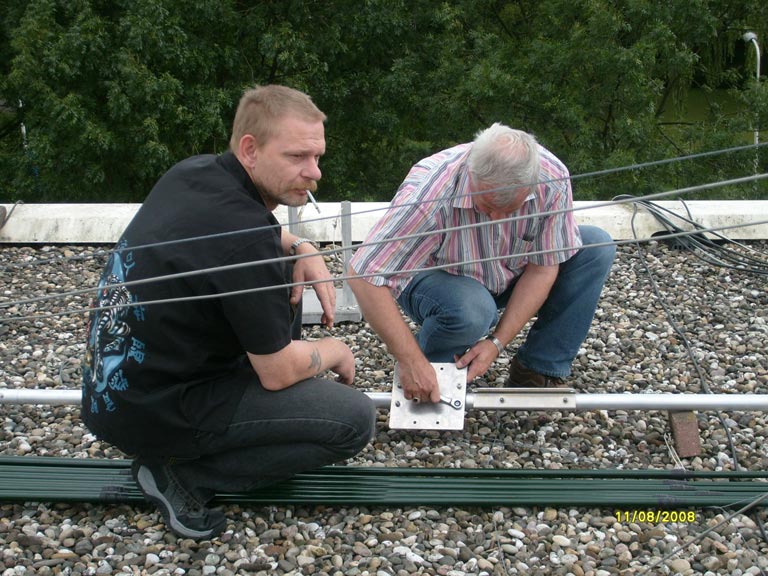
August 11, building up the antenna. John and I mounted the "boom mast clamb" on the boom.
|
 |
|
 |
||
|
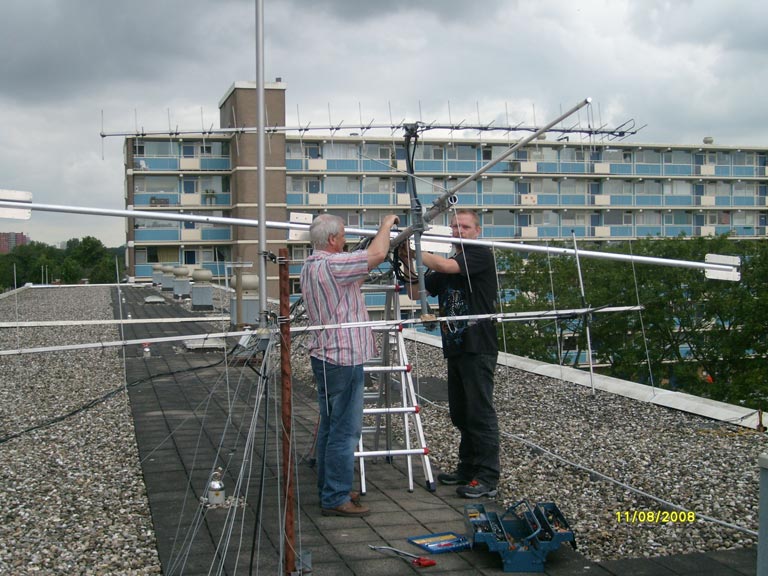
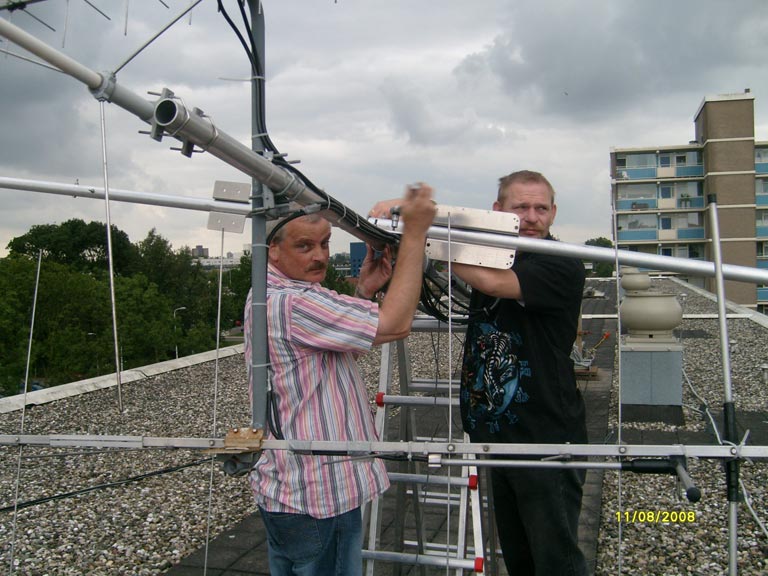
Here you could see how we fix the boom on the top-tower. You also see the 3 aluminium mounting brackets for the 3 element stepper motors. The small bracket in the middle is just for the (return)40m-30m.(optional)
|
 |
|
 |
||
|
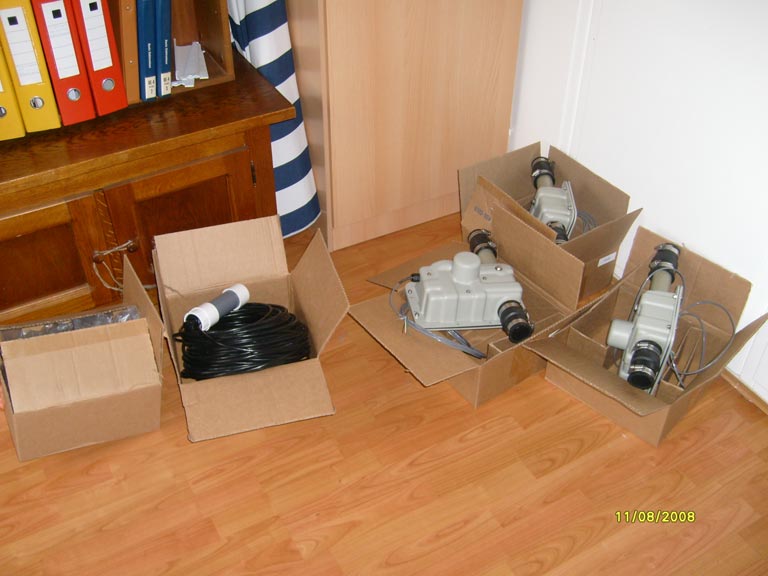
These are the three casings including the stepper motor, within the real antenna. The black cable you see isn't coax cable but the 12 conductor cable to connect the elements with the control box.
|
 |
|
|
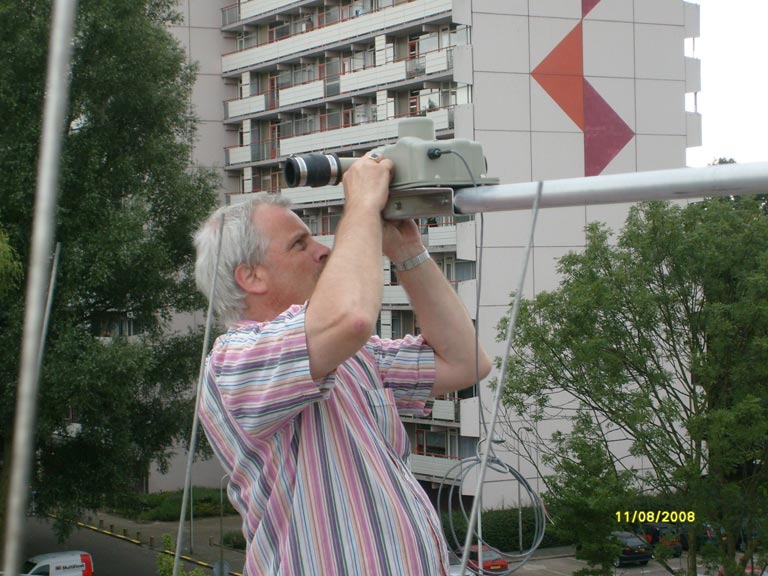
Here you could see how I made the first stepper motor on the boom. We can fix the poles later easily on these stepper motors. Just putting them into the rubber boots, tighten the clamps and finished.
|
 |
|
|
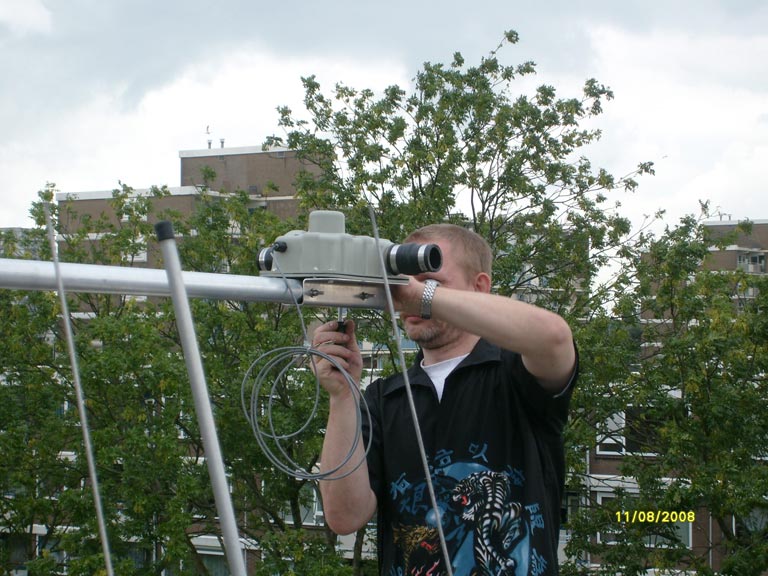
John must make the second on the boom. These stepper motors are fixed with about 12 Stainless Steel M6 screws each.
|
 |
|
|
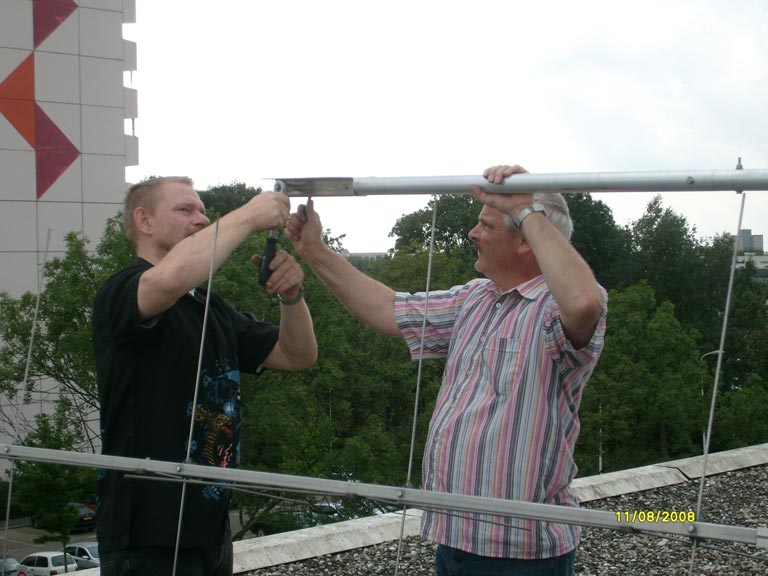
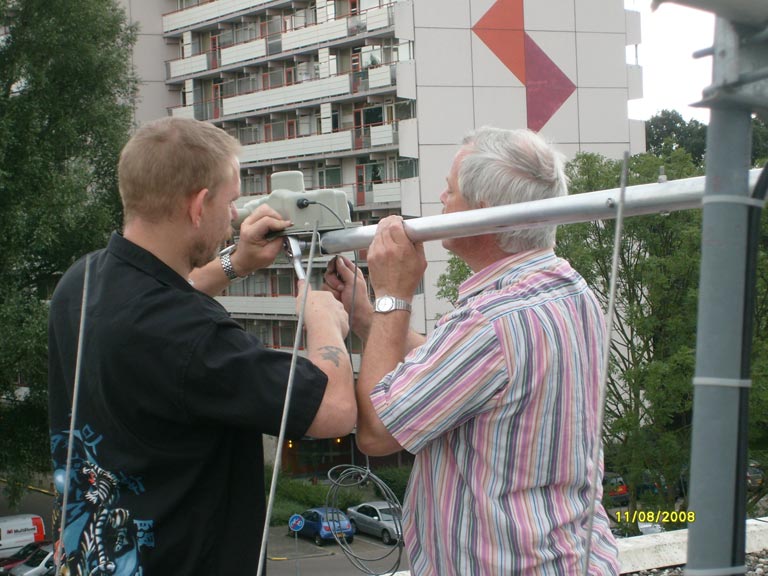
This will be harmfull when using stainless steel. Too tighten will damage the screw. That is what you see here!
|
 |
|
 |
||
|
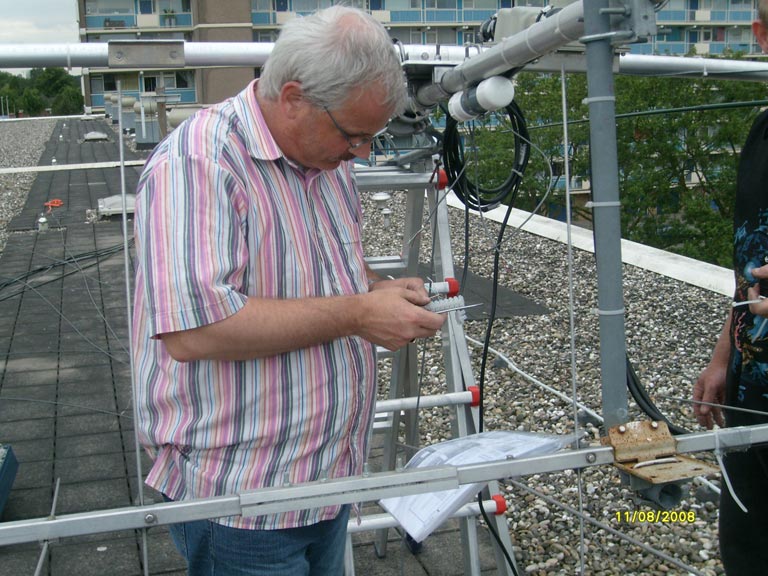
All twelve tires connected on the right way on the cable. If you do not so, you get some strange effects with the SWR and F/B results.
|
 |
|
 |
||
|
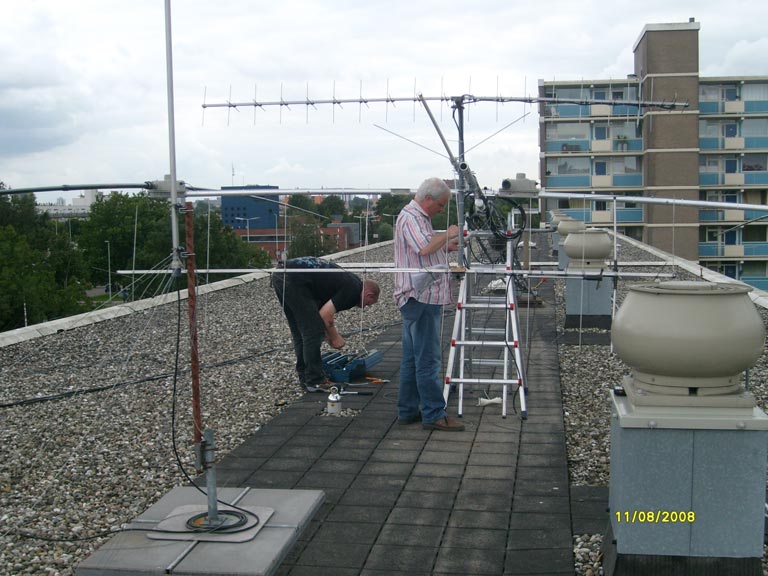
The last inspection, looking if everything is ok, before lifting the tower. |
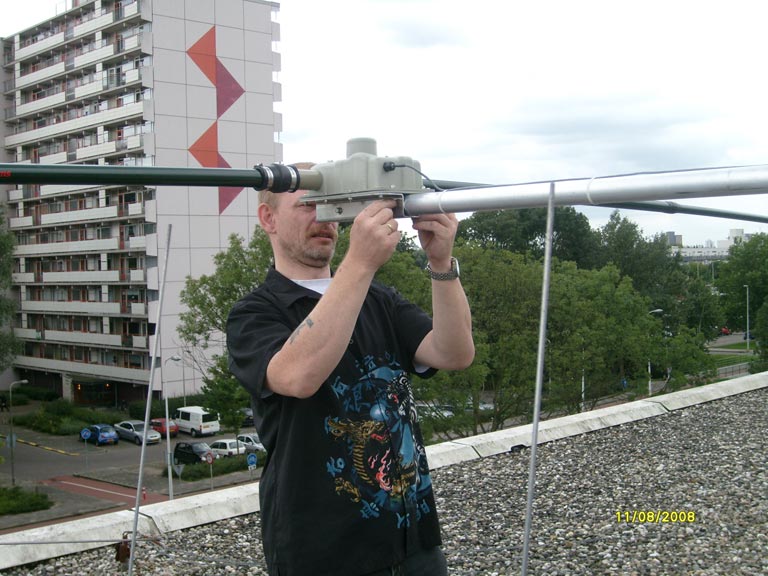 |
|
|
Antenna poles, also to use for fishing hihi. (I didn't catch anything) |
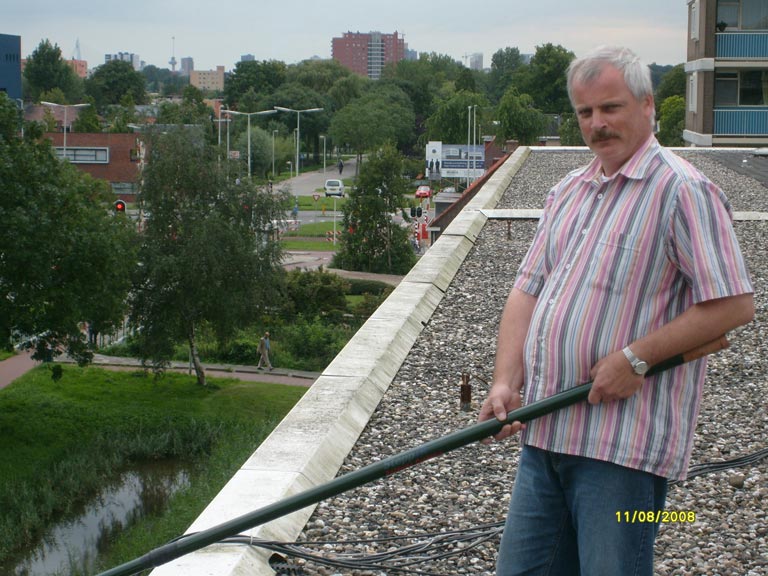 |
|
|
Tower again verticale with his new beam, just with 2 elements. We must place the third element now, but that's easy. |
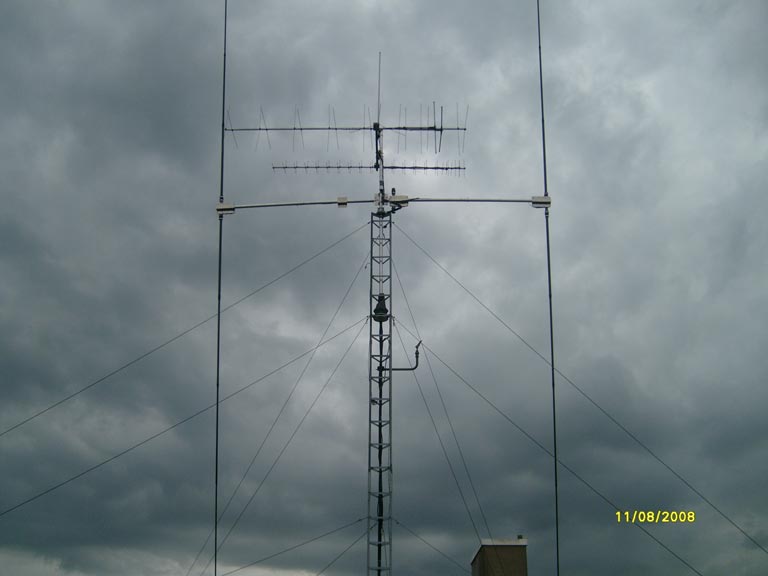 |
|
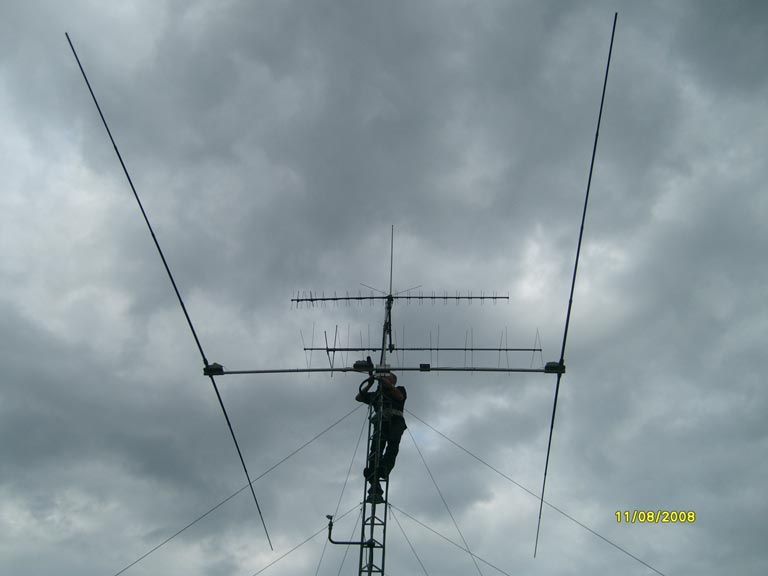 |
||
| That's the first...... | 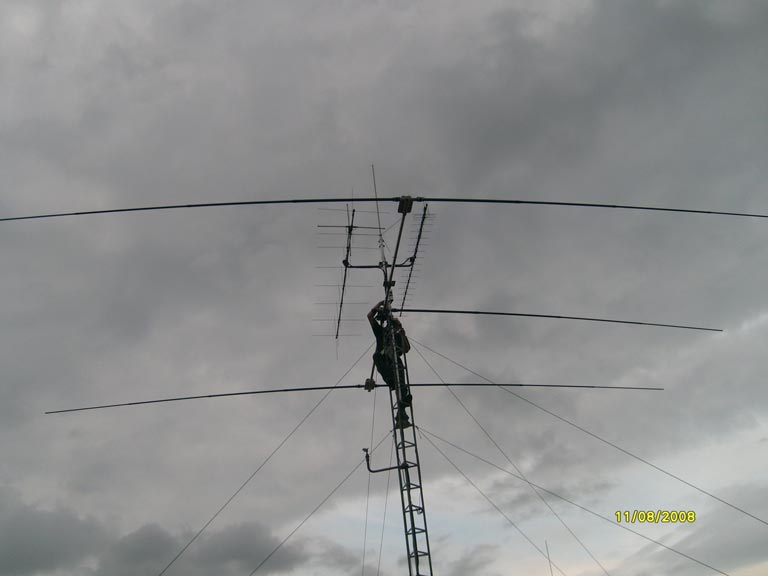 |
|
| And the second half.. | 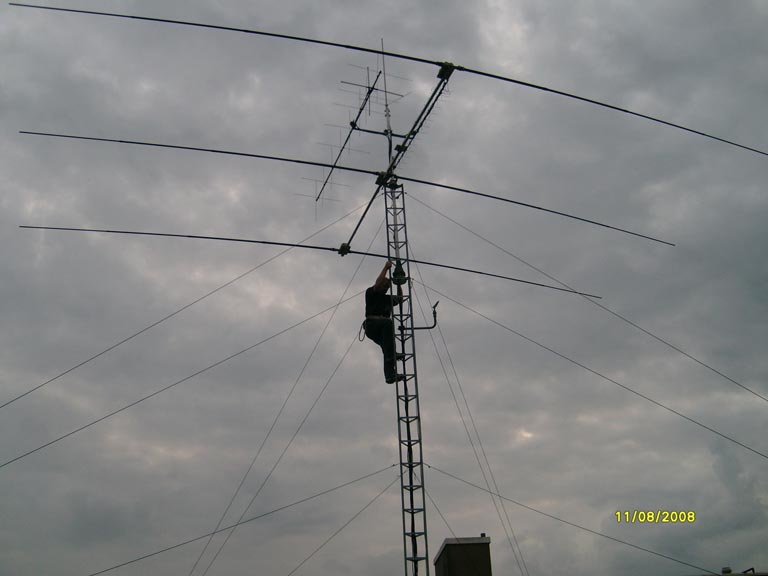 |
|
Now you can see the results of our work. With any distance you could not see al these works.. Also the big casings are just small things
|
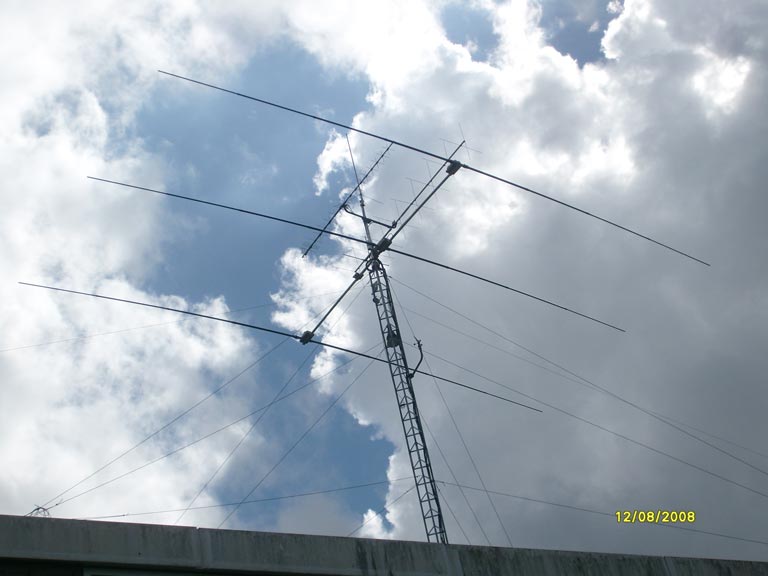 |
|
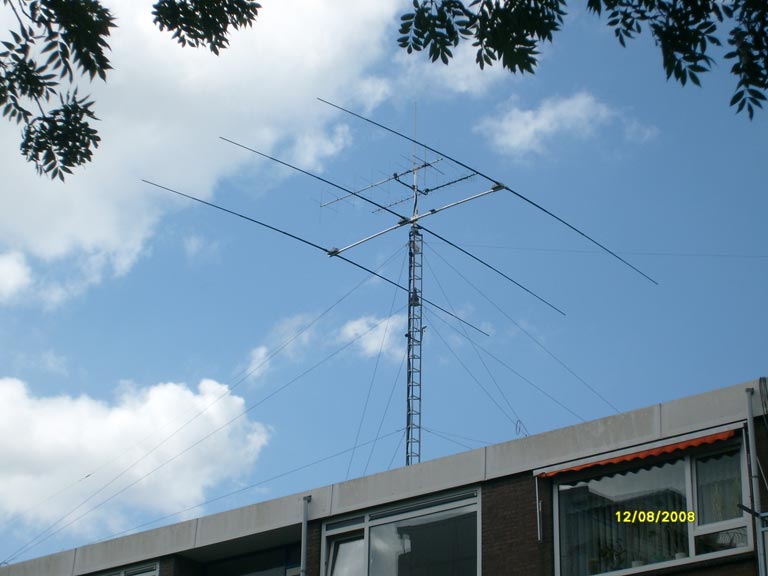 |
My conclusion at the end.
| First
off all I have to tell something about Vinecom UK. During the period that
I was just thinking about buying this antenna I had some Email communication
with Ron Stone from Vinecom. All these communication, I must say, where
very nice and also with a very fast response. Response within 12 hours,
sometimes less and also response in the weekend. Very positive. The same consideration for the factory in USA, where I want to buy first. Jerry advised me to buy in Europe, just for the shipping price and guaranty. Finely, just positive experience. |
 |
|
Constructive: |
Everything was very good
packed, separate and with a clear user manual. The element, (fishing
poles) had a point of interest, because some off them were too short.
The minimum length must be 538cm, but some of them reach just 534cm, so
4 cm too short! All the antenna components
are made to build easily, with just a handful of tools. Most time of the
work is taping the poles in the right way. The packing is included a clear instruction and user manual.
|
Handling: | The control box who is a part off the antenna is a box with dimensions from approximately 18cm(l) x6cm(h) x 12cm(t). When you are looking to the information on the SteppIR site, you want to believe the dimensions are much bigger but in real the box turns out better than expected. The connections to
the control box with the in my case 12 conductor cable will be connected
with a 25 pinDsub connector. Then you can put the controller on directly. On the other hand using the control box is very simple. The software is easily to handle, just by pushing two or three buttons. Programming is not direct necessary, unless you want different values into your program. I didn’t buy
it my selves, but very nice and handful is a interface you could built
in the controller, and if your transceiver have a 9 pin D sub connector
with computer interfacing capability, the antenna will be automatically
re-adjust every 50 Khz, and also follow the band switching off your transceiver.
Everything goes automatically….how nice! The display is good
lighted and good readable, English of course! |
| My practise experience after 2 days | Now
I have two days of experience with my new antenna behind me, I persuaded
that it is an antenna with very good properties. When I compare the SteppIR
and the Fritzell the SteppIR leaves the Fritzell far behind. I know that
I must compare in just the same conditions, but when I‘m looking
to the rx/tx reports there is a big difference between these two antennas.
It’s impossible to compare with just the same conditions and situations. The most fantastic issue of this antenna is the fact you can turn the forward gain in less as 3 seconds 180 degrees without turning the antenna by rotor. Its works great! Also you can set the antenna “bi-directional”. In that case the antenna “looks” into two directions, turned by 180 degrees. The antenna change into a antenna with 1 driven and 2 passive elements. Nice, no more. VSWR on all bands 10m – 20m less as 1:1.3. If you want, you can make the VSWR a little better. With the control box it is possible to re-adjust the driven element a little longer or shorter, +/- 5%. Shortly, I can say
in the time I use the antenna now, it seems to be a very nice one, with
just positive experiences. If it is necessary in the future to tell more
about, I will do so, negative and positive as well. |
|
|
Winter problems with the SteppIR. November 23, 2008. This day the first
snow fals. Before, we had a rainy period with temperature of zero Degrees
C. What a shock on that moment. I didn’t use my antenna for a few
days, and days before we had a serious storm. When I made a transmission
on 20mtr I saw the very bad VSWR information on my antenna analyser. To
hi…>1:3. Very strange when you know that the hole antenna is
packed in a fiberglas pole and housing. There is no any influence with
bad weather, snow and ice, so told the commercial description. |
Any reactions, possitive or negative, any suggestion, please let me know. You can make your note to my Email adress or just into my guestbook in the previous page.
|
Maintenance 2010
|
After 2 years usage, it was necessary to maintenance the tower and its antenna’s, specially the steppIR antenna.
|
The
steppIR motor houses look like new ones. I think the used material is
a sort of fiberglass or polycarbonate. Now, after 2 years they looks the
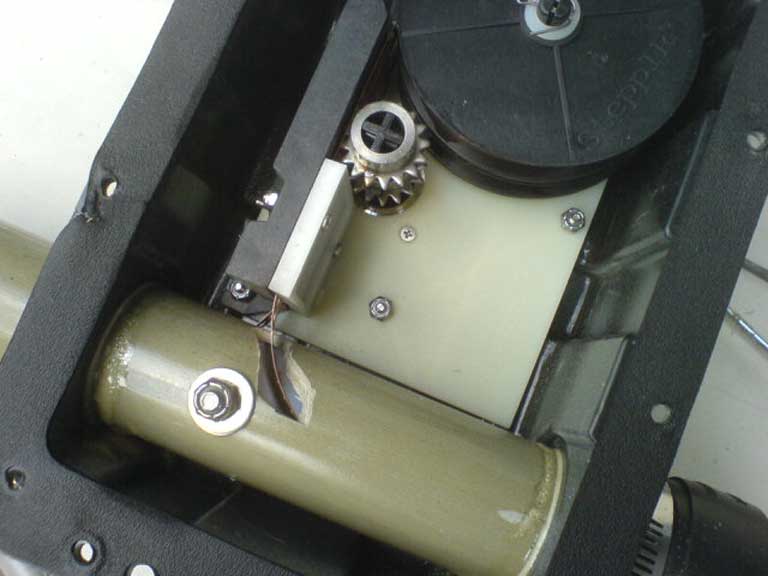
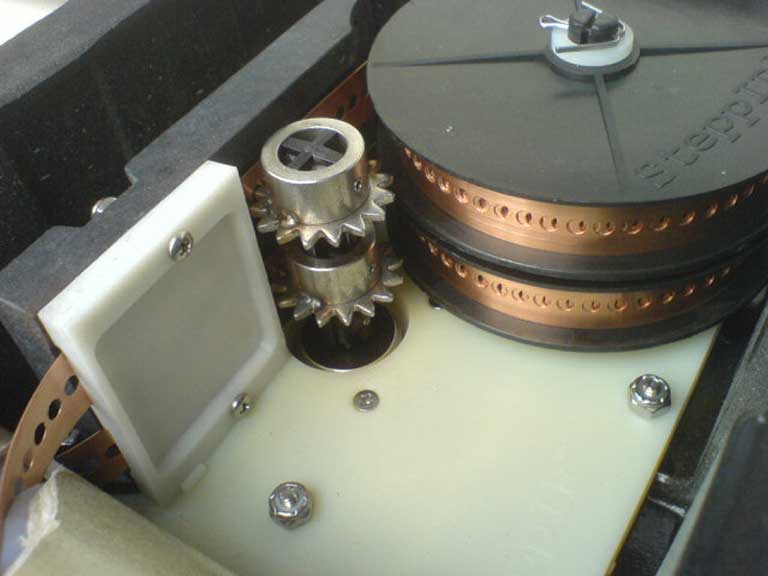
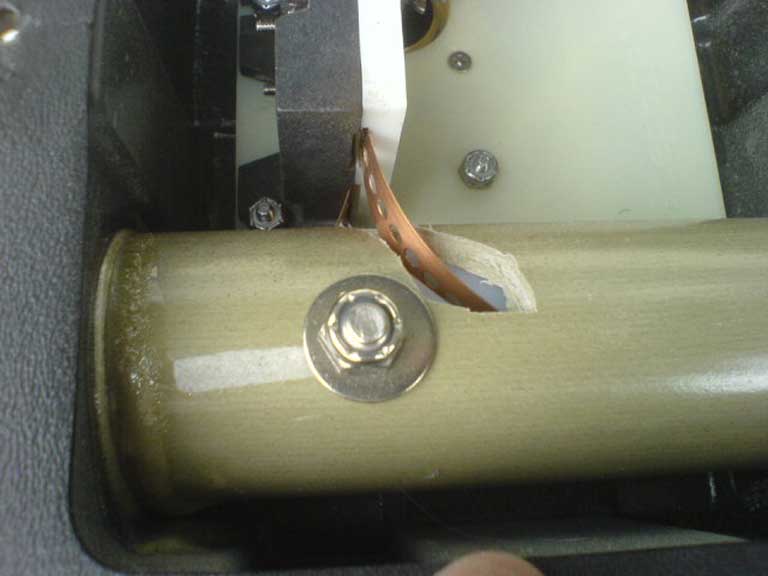
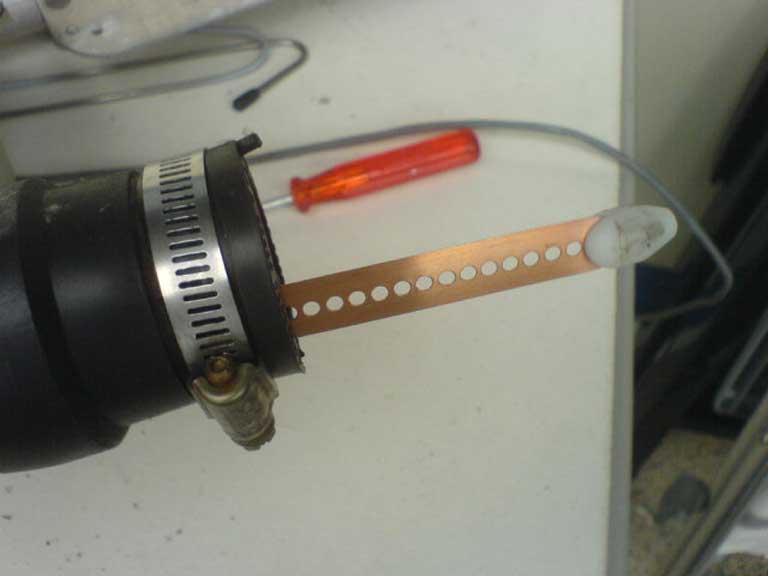
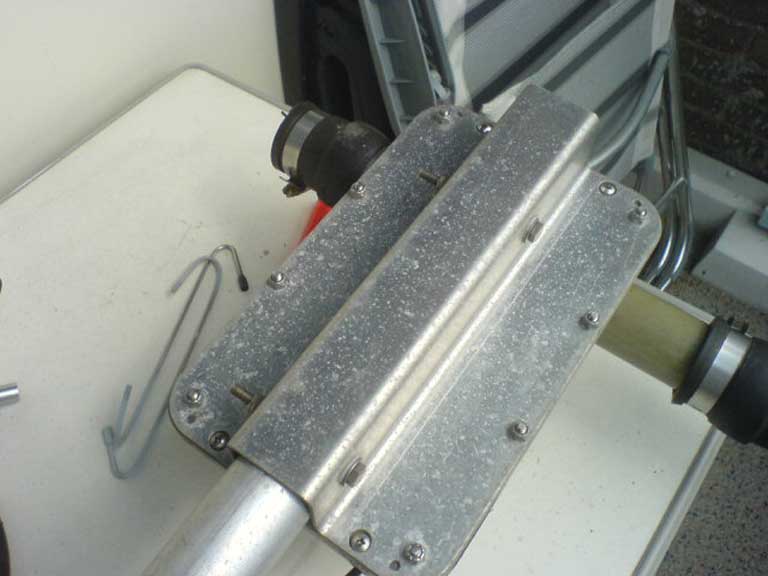
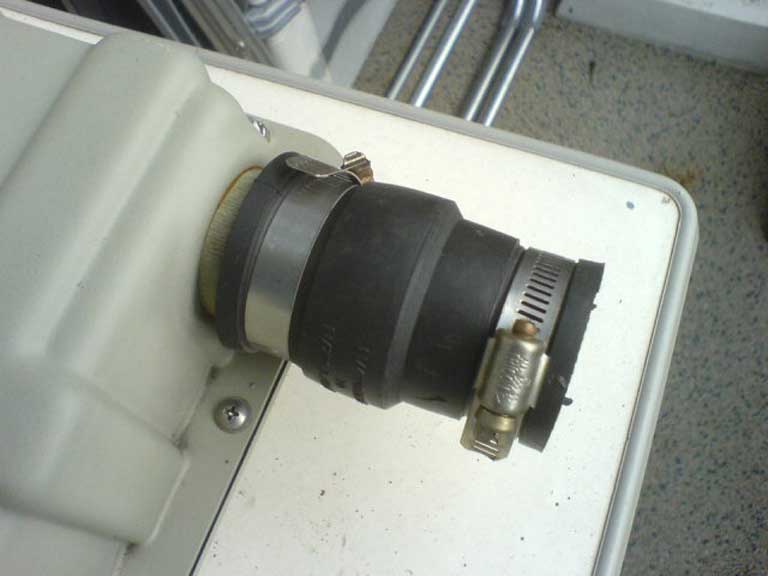
same, no dust or color change on the housing by sunlight. While the motors here down on the workbench I decide to open the house of one of the steppIR motors. Just looking for worn parts but there were not. On the pictures below one of the director element motor. You can see the aluminium
material is just a little affected by wind, rain and sun, but that’s
normal after two years. Summarizing, I’m very happy with those results
after two years in rain and wind, just 40Km from the sea border. |
 |
||
 |
||
 |
||
 |
||
 |
||
 |
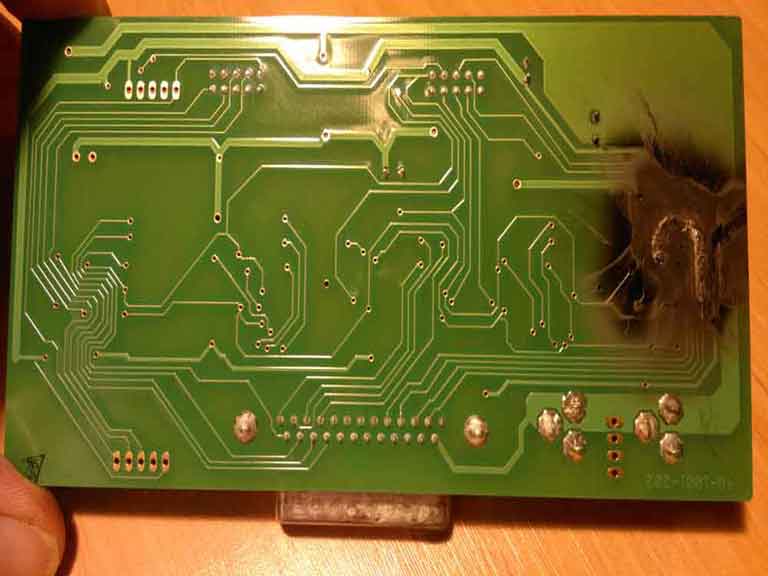
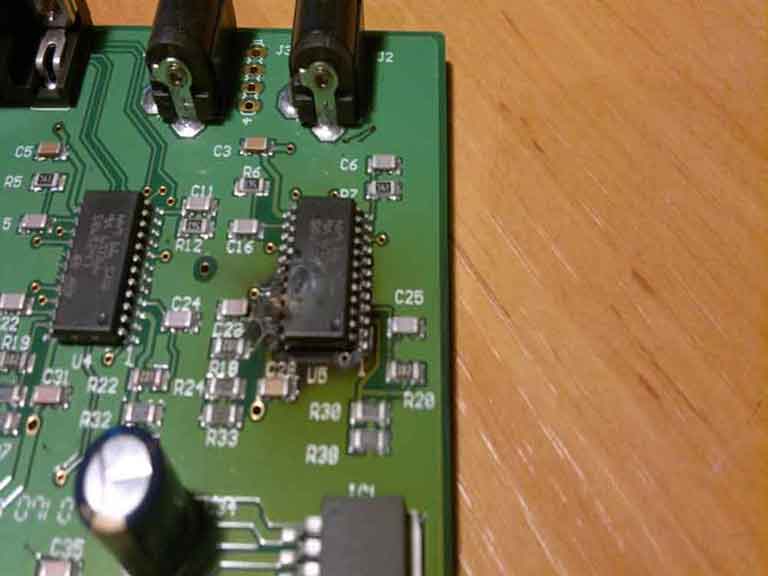
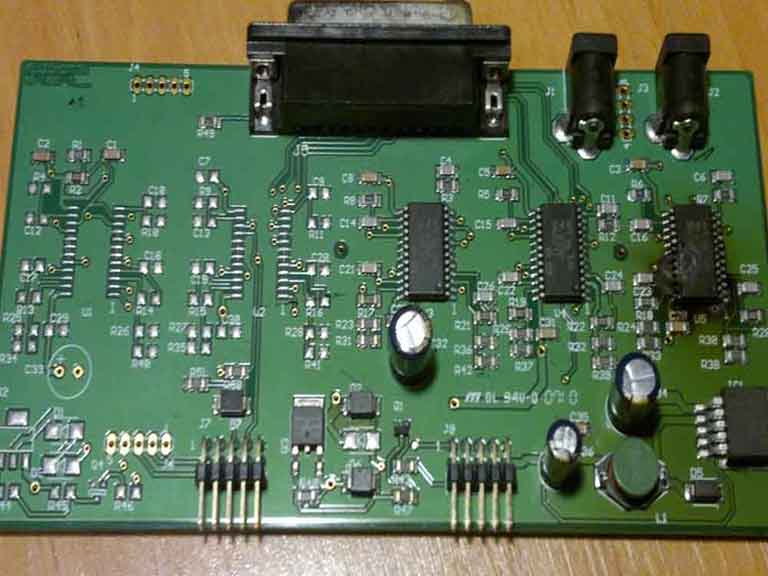
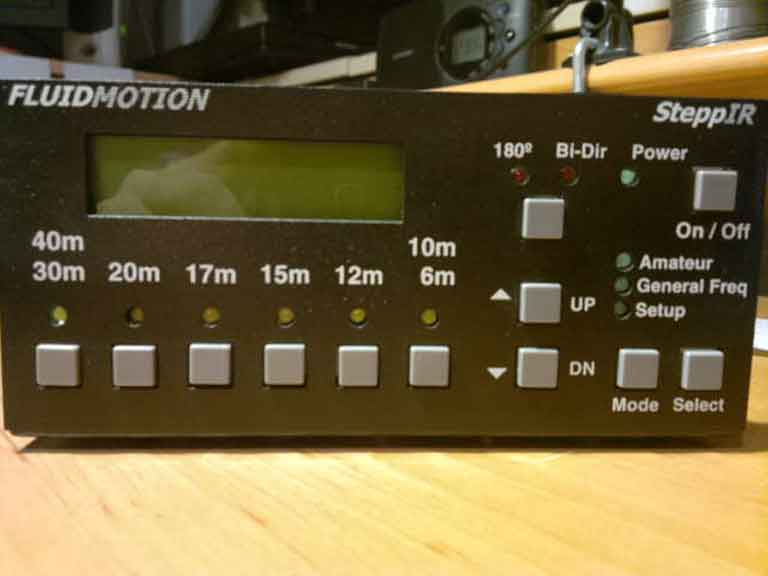
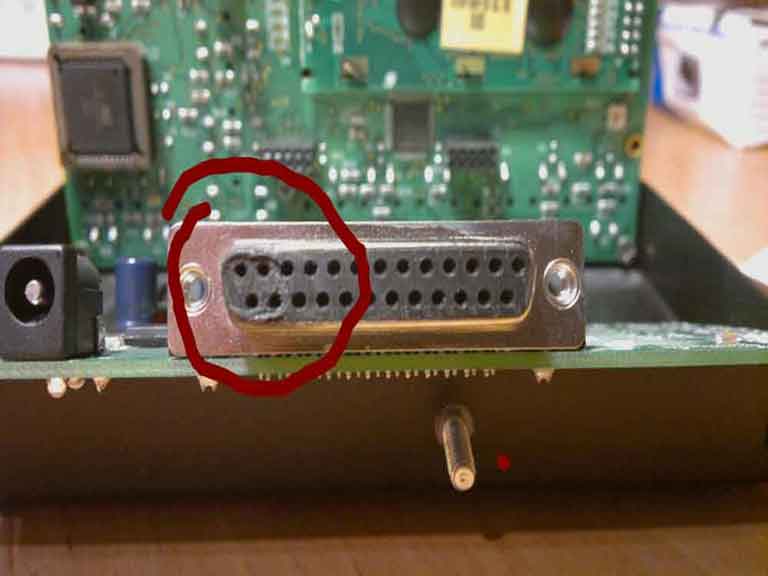
Juli 20 2011, controller problems..
July
20, at the entrance steps of my house, I recognize directly the smell
of burned circuit board and electronics components. I knew this air. It
was the same air from the time of my active "home made period"
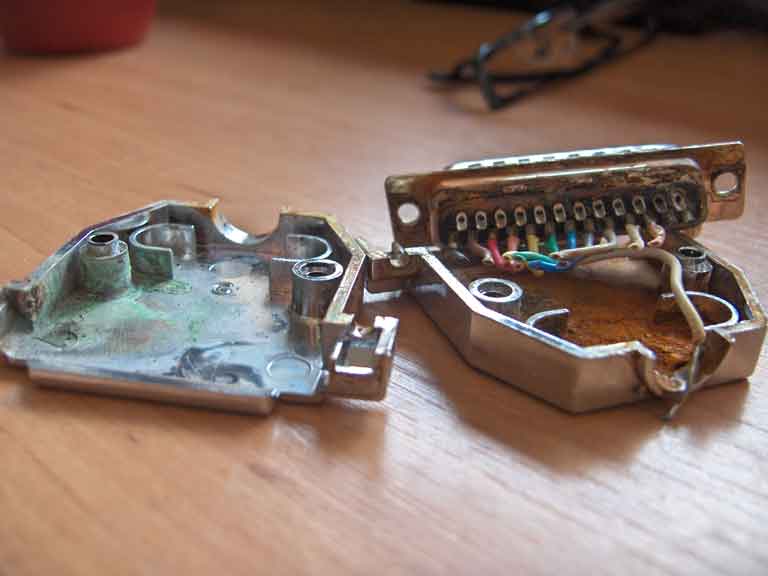
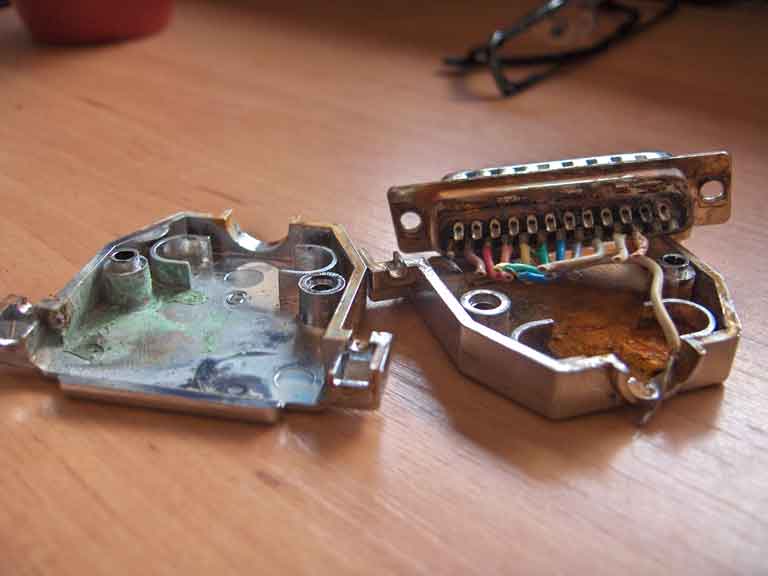
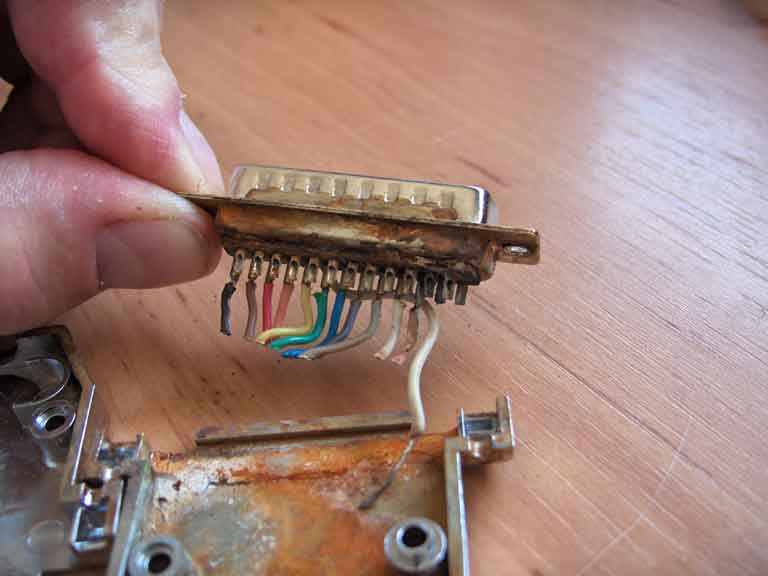
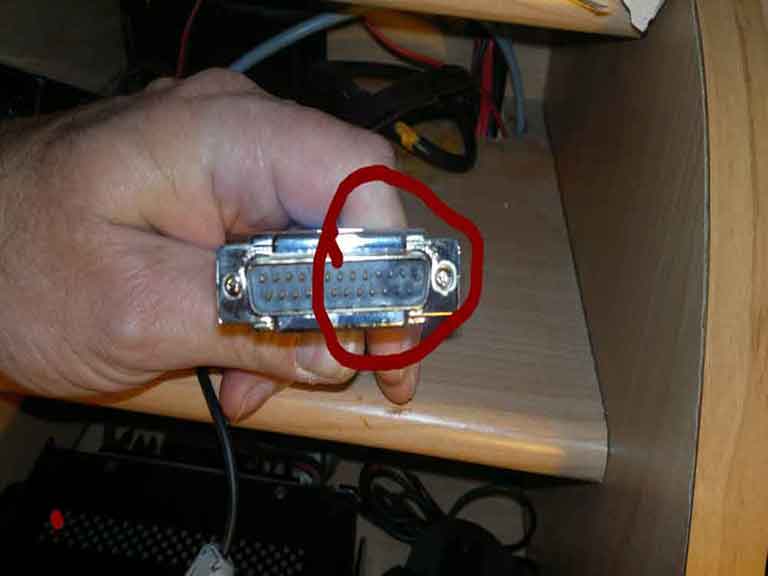
long times ago, when things went wrong! For one year ago I
had a problem with the controller cable into the tower, nearby the antenna
rotor. In that time there must be a damage in the cable. So after one
year of rainfall, the water has reached the DB25 connector trough te cable
at the back of te controller, drop by drop. |
 |
||
 |
||
 |
 |
||
 |
||
 |
||
 |
||
 |
||
 |
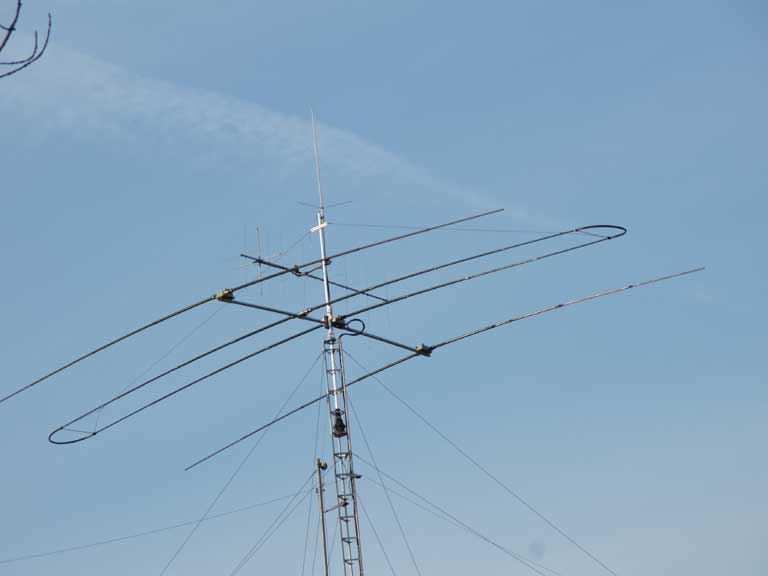
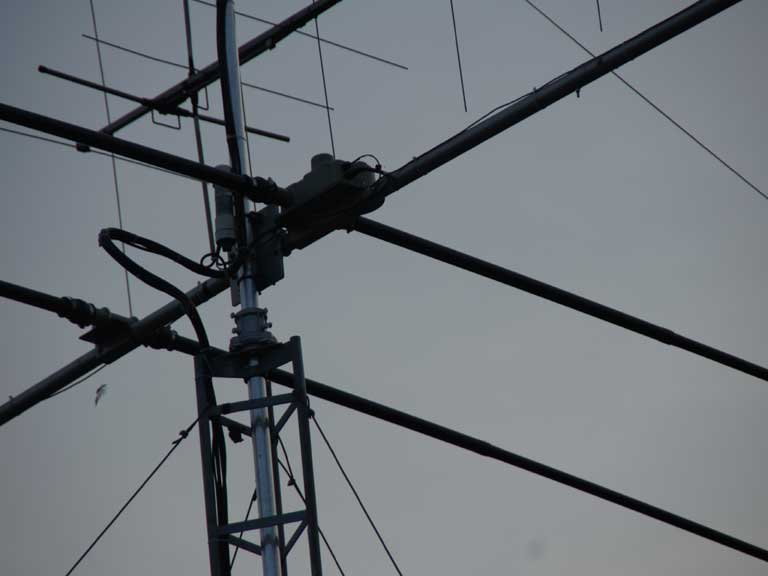
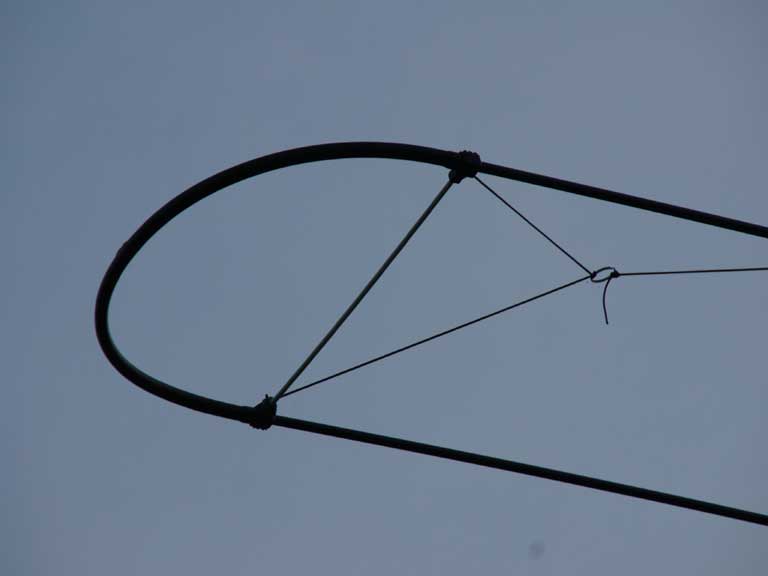
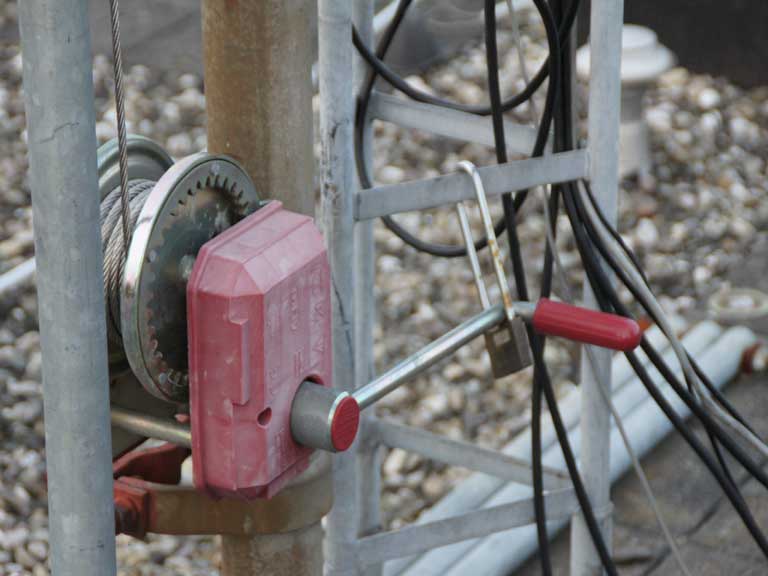
August 2013
| After
5 years of use of my three elements SteppIR antenna 6m t/m20m , experiments
with vertical antennas which were also suitable for 40m, I decided to change
the SteppIR dipool. I’ve bought the 40m trombone. The chapter experimenting
with vertical antennas on the concrete roof brings to an end. These antennas
do not give the desired results for me. A wire antenna of 20 meters in length
(2 x 10m) will generally not far behind any vertical. This is at least for
my situation here on the concrete roof.
For mounting the 40M kit I have bring down the tower for at least four weeks. In that time I did a lot of maintenance also. Painting on the tower, new bearing on the tower top, and many other little things which need maintenance. Unfortunately
this time I had no opportunity to do a photo shoot of all work. Then only
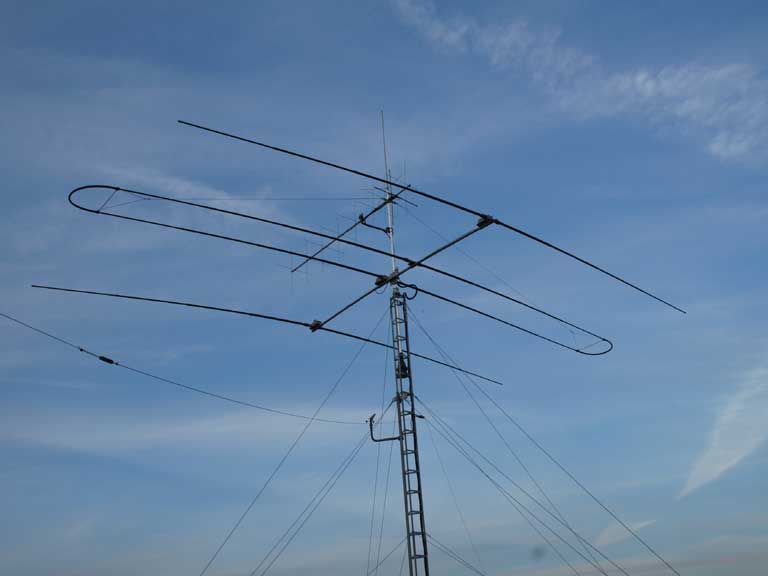
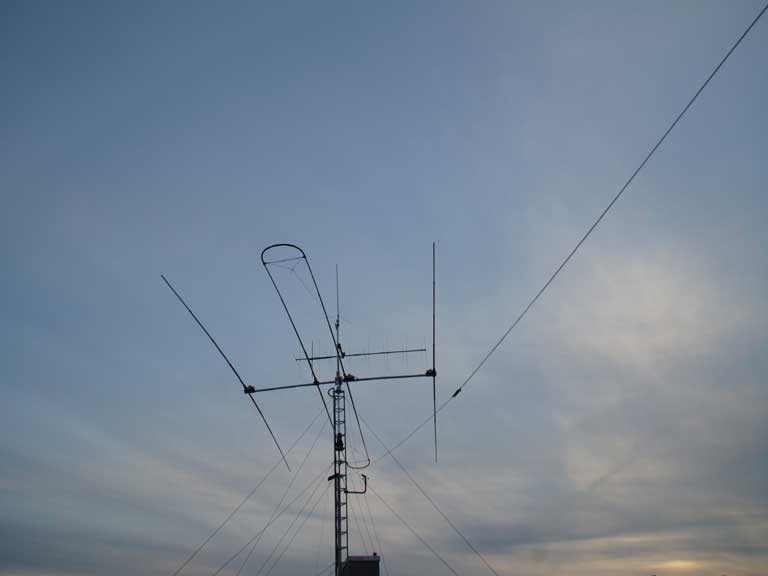
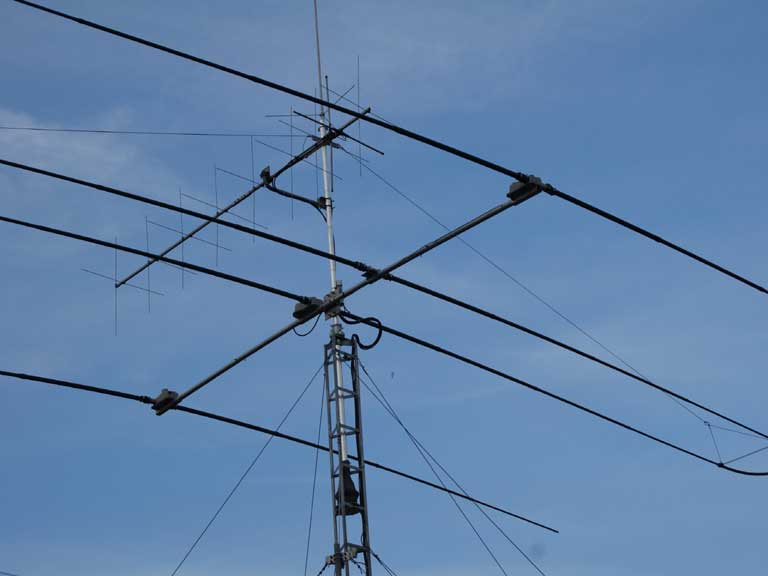
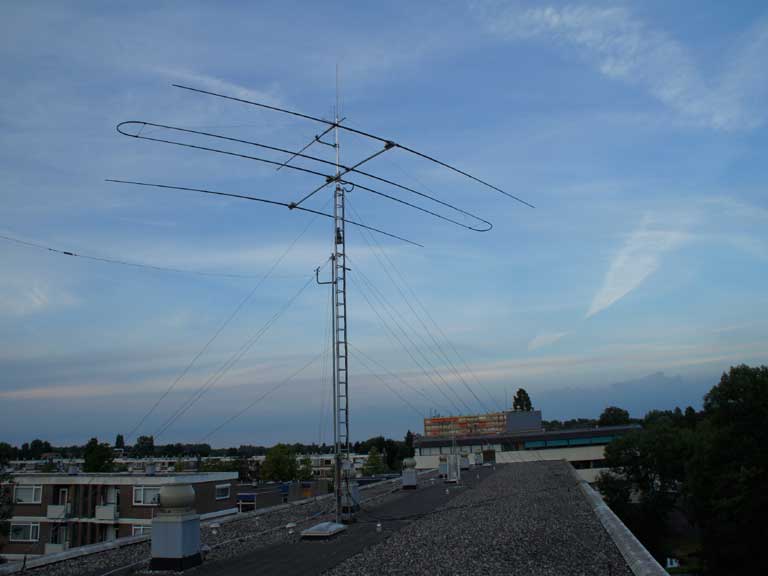
provide some pictures of the result below. |
 |
||
 |
||
 |
||
 |
||
 |
||
 |
||
 |
||
 |